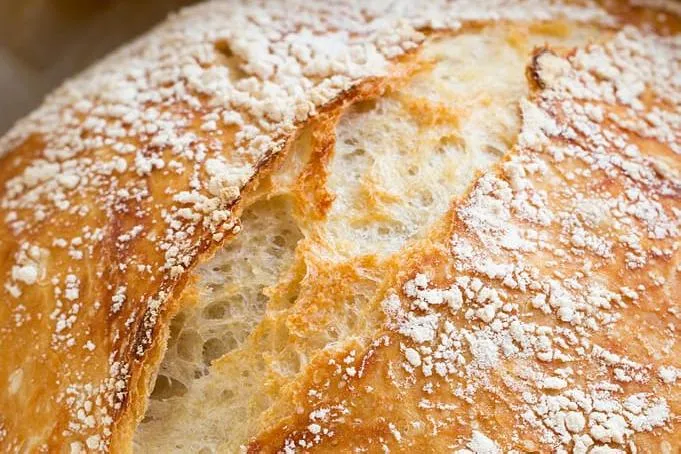
Campfire Yeast Bread
Golden Crust. Soft Center. Baked the Old Way.
There’s nothing like the smell of fresh bread rising out of a
Dutch oven while the fire crackles low. It slows people down. Pulls them closer.
And turns a simple meal into something they remember.

What Makes This Bread Special
This isn’t oven baking. This is:
Controlled heat from coals
Steam trapped inside the cast iron
A crust that crackles… and a center that stays soft
It’s rustic. Honest. And ridiculously satisfying.

Ingredients (1 Large Loaf)
3 ½ cups all-purpose flour
1 packet active dry yeast (2 ¼ tsp)
1 ½ cups warm water (not hot)
1 tbsp sugar or honey
1 ½ tsp salt
1 tbsp olive oil (optional, for softness)
Gear You’ll Need
10” or 12” Dutch oven (with lid)
Parchment paper (recommended)
Lid lifter
Mixing bowl
Charcoal or hardwood coals
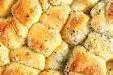
Yeast rolls
Homemade yeast bread
🔥 Fire Setup
Bread is all about even heat.
👉 You’re baking, not cooking.
8 coals underneath
16–18 coals on top
Top heat matters more here.
That’s what gives you that golden crust.
🍞 Step-by-Step Method
1. Wake Up the Yeast
In a bowl:
Warm water + sugar + yeast
Let sit 5–10 minutes until foamy.
👉 If it doesn’t foam, your yeast is dead. Start over.
2. Build the Dough
Add:
Flour
Salt
Olive oil
Mix until a shaggy dough forms.
Then knead 8–10 minutes until smooth.
👉 You’re looking for soft, slightly tacky… not sticky.
3. First Rise
Place dough in lightly oiled bowl
Cover with towel
Let rise 1–2 hours (until doubled)
Keep it warm.
Cold air slows everything down.
4. Shape the Loaf
Punch dough down
Shape into a round loaf
Place on parchment paper.
Let rest another 20–30 minutes.
5. Preheat Your Dutch Oven
Set empty Dutch oven over coals for 10–15 minutes.
👉 This step is key.
Hot pot = better rise and crust.
6. Bake Over Coals
Carefully place dough (with parchment) into hot Dutch oven.
Cover with lid
Maintain coal setup
Bake:
30–40 minutes total
Rotate lid and oven every 10–15 minutes for even heat.
7. Check for Doneness
Golden brown crust
Hollow sound when tapped
Remove and let cool at least 10–15 minutes before slicing.
👉 Hardest part… but worth it.
🍽️ How to Serve
Slice thick
Add butter while warm
Or pair with your campfire chili
Simple. Real. Perfect.
⚠️ Campfire Bread Notes
Wind will mess with your heat… adjust coals
Too many bottom coals = burnt base
Too few top coals = pale, undercooked bread
This is where you learn fire control.
🧭 Pro Camp Cook Tips
Add rosemary or garlic for flavor
Brush top with melted butter after baking
Toss in cheese for a richer loaf
Let dough rise longer for deeper flavor
🤠 Why This Bread Matters
Anyone can cook meat over fire.
But bread?
Bread takes patience.
This is the moment people realize…
you actually know what you’re doing out here.
🔗 Want to Learn Fire Baking for Real?
If this speaks to you…
you’re ready for more than recipes.
👉 Learn how to control heat, timing, and technique
👉 Cook full meals over live fire with confidence
👉 Walk away knowing you can do this anywhere